年末年始暇なので Verifiable Credentials でも作るか、となった時の備忘録。
追記)資料まとめました
Microsoft Entra Verified ID とは
Microsoft がやってる Verifiable Credentials 発行プラットフォーム的なあれそれ。22年8月にGAになったらしい。正直ずっとまだベータ版なんだと思ってた。VCをいちから作ることやAuthenticatorアプリを用意するのは至難の技だと思うので、ある程度こういったインフラに乗っかるのは大事そう。
公式ドキュメント

GAアナウンス

参考記事


手順
ほとんど公式の手順や上記の参考記事を追っただけですが、.NET や angular が全く分からなかったので Rails で乗り切った備忘録になります。
1. Issuer を用意
RPになる。did.jsonの管理もここにねじ込む。
用意したものがこちら。
render.com でデプロイしておく。
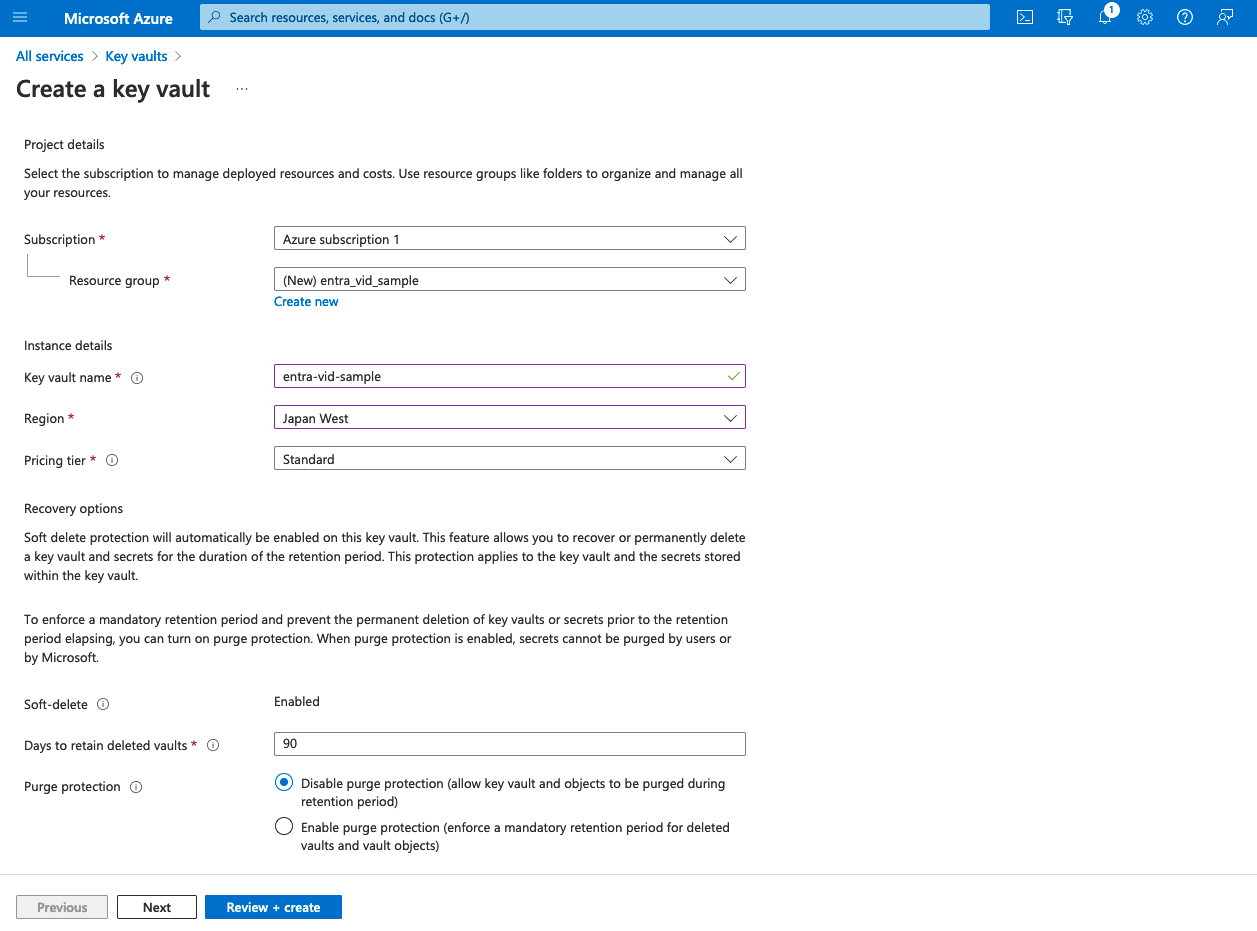
2. Azure Key Vault を作成
Key Vault を作成する。
設定は任意の Subscription と Resource Group, Region あとはデフォルト。
Next で出てくるアクセスポリシーを編集。
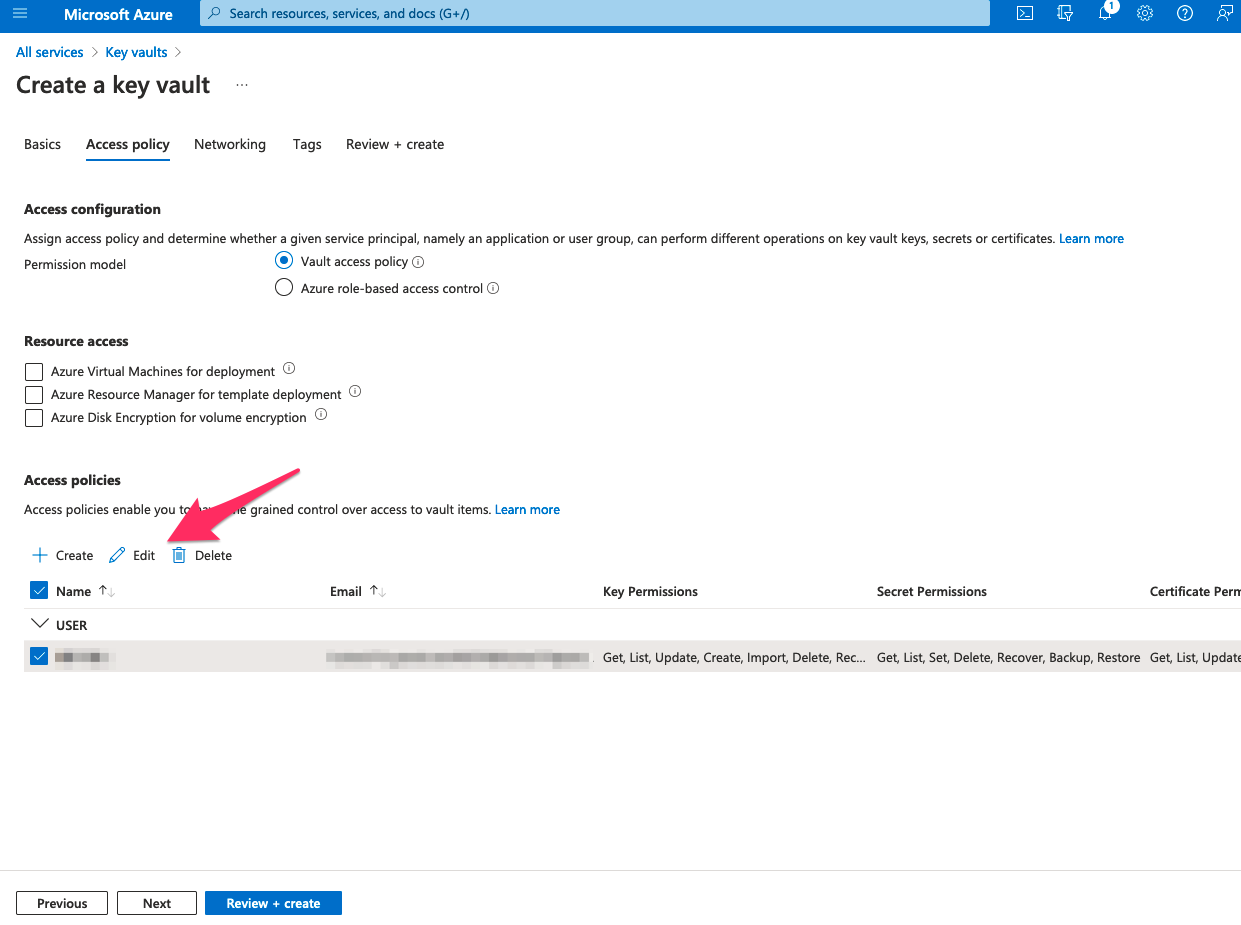
必須は「Key Management Operations」の「Create, Delete」および「Cryptographic Operations」の「Sign」。

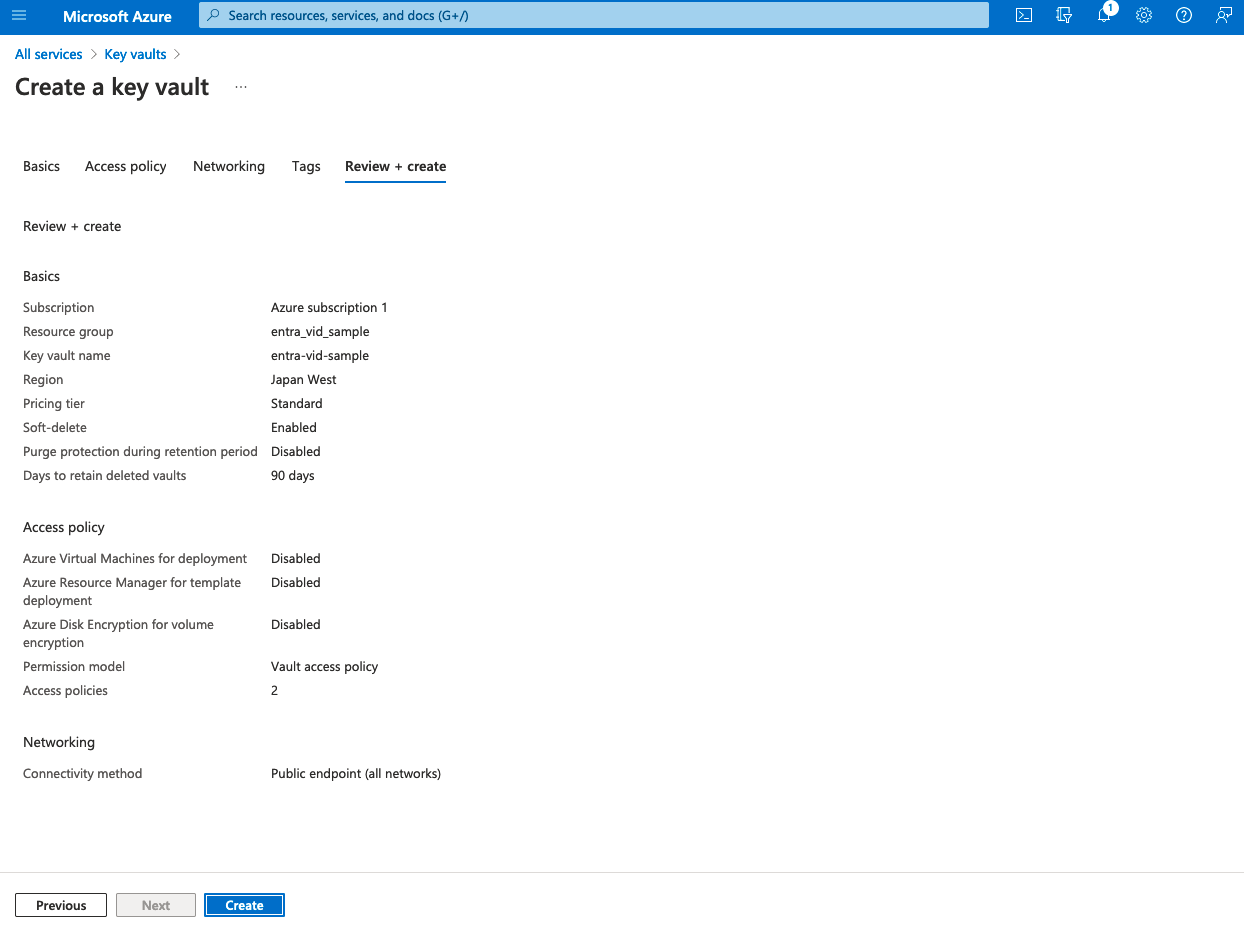
完成
3. Entra Verified ID を作成
以下にアクセス。
組織を作っていく。入力内容は任意。Trusted Domain には 1. でデプロイしておいた render の URL を入力。Key Vault は 2. で作成したものを指定。
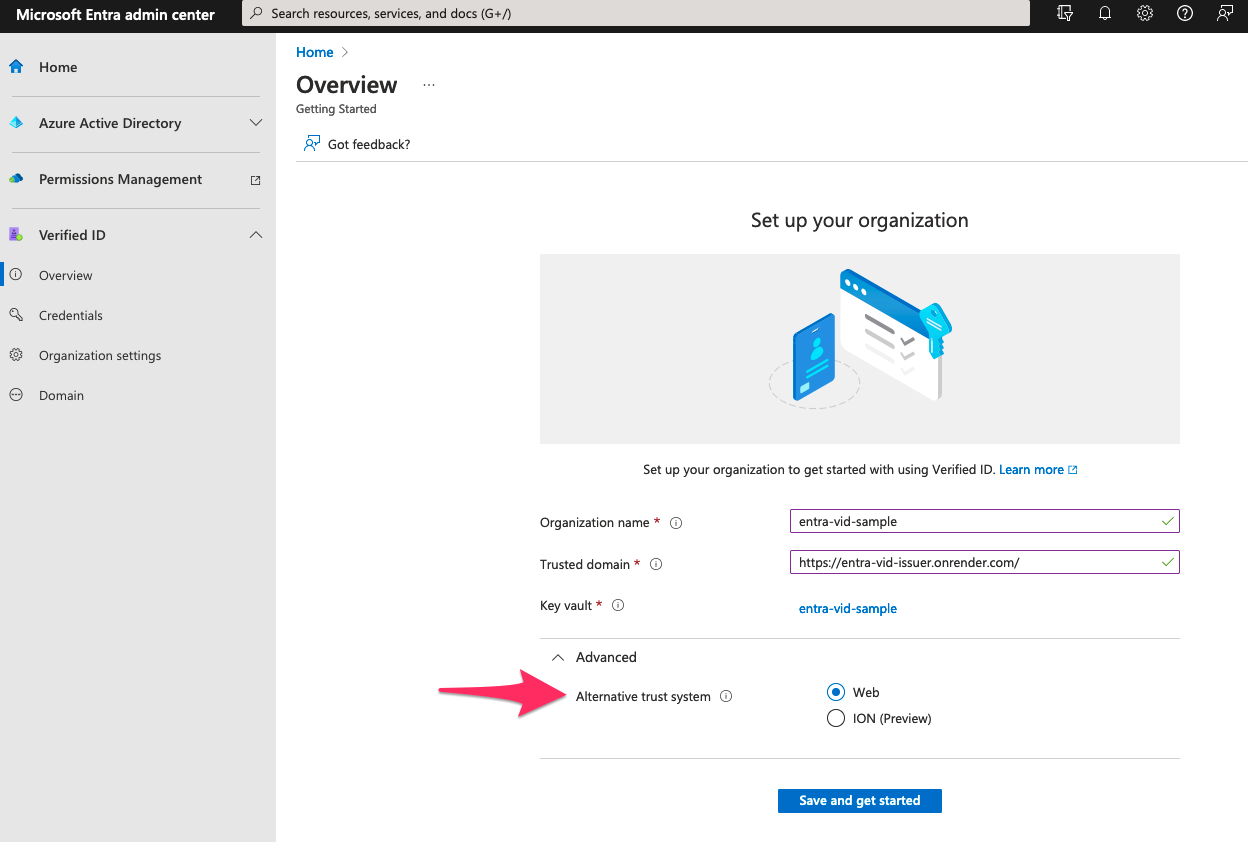
Save and get started で画面遷移。
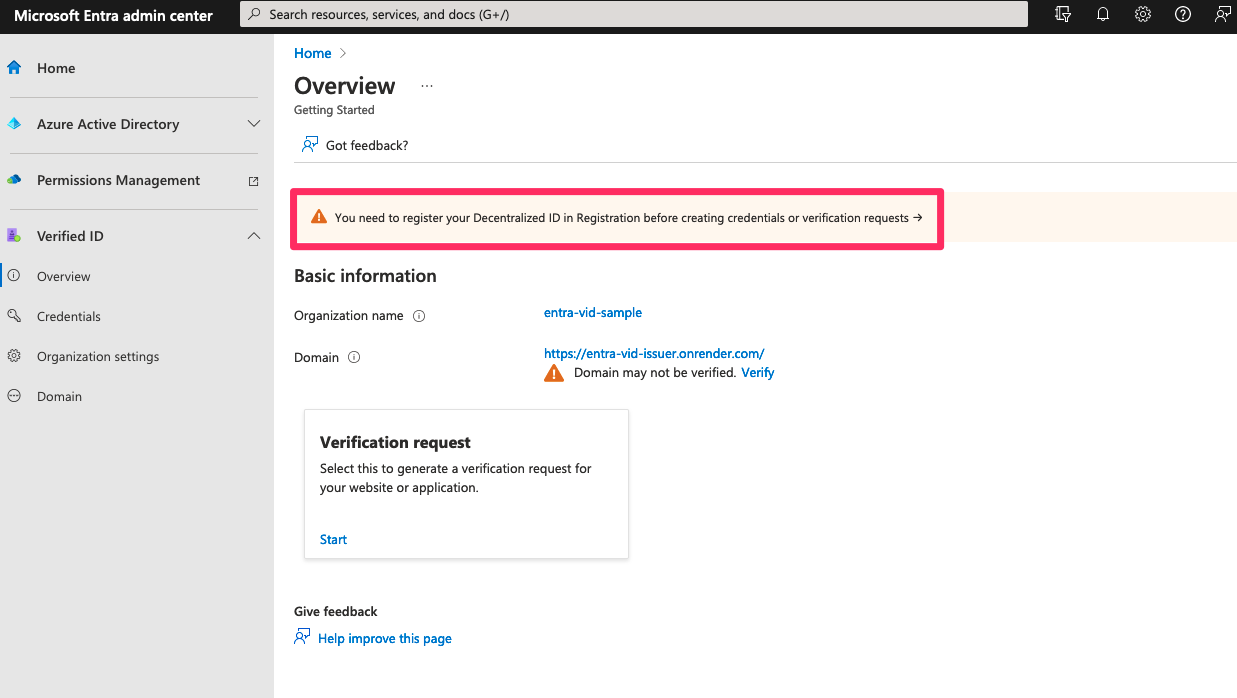
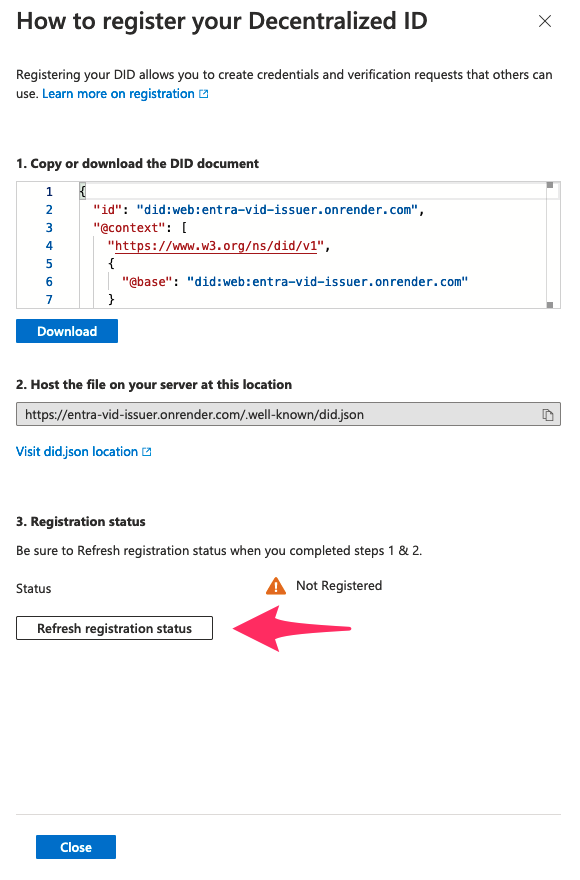
DIDの登録を求められるので登録する。登録するのは「DID Registration」と「Domain ownership verification」の二種。

どちらも登録画面へ行くと登録すべき内容が表示されるのでコピーしてデプロイ先へアップロードする。配置場所はそれぞれ https://{HOST}/.well-known/did.json , https://{HOST}/.well-known/did-configuration.json. 配置したら Refresh で登録状況を確認できる。
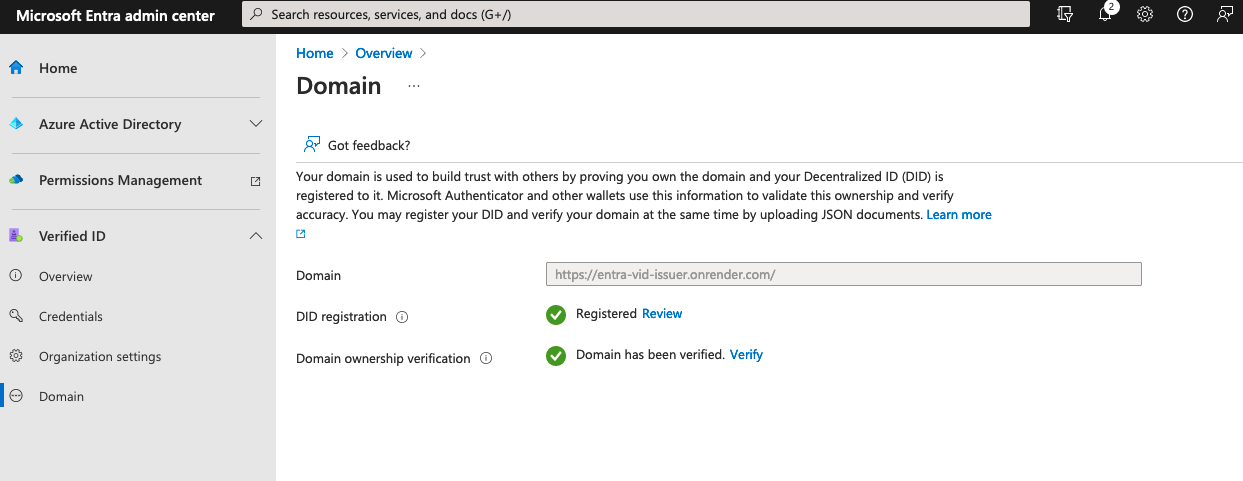
完了 ✅
4. Credential を作成
サイドバーから遷移し Add a credential
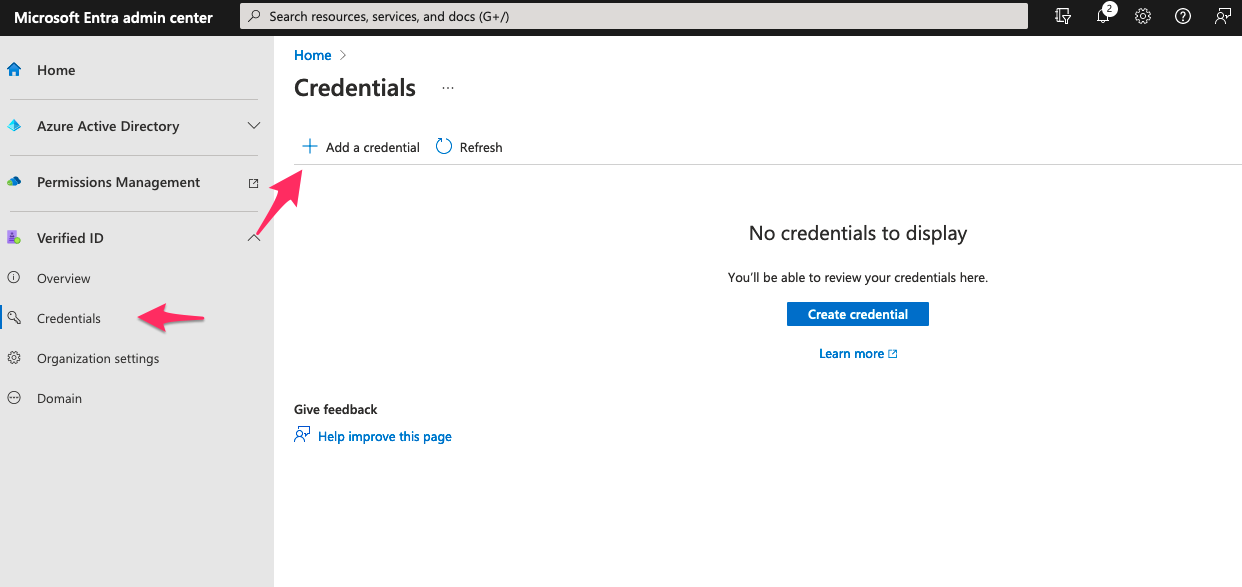
Custom credential を選択し Next

Credential の詳細設定画面に遷移するのでよしなに設定。
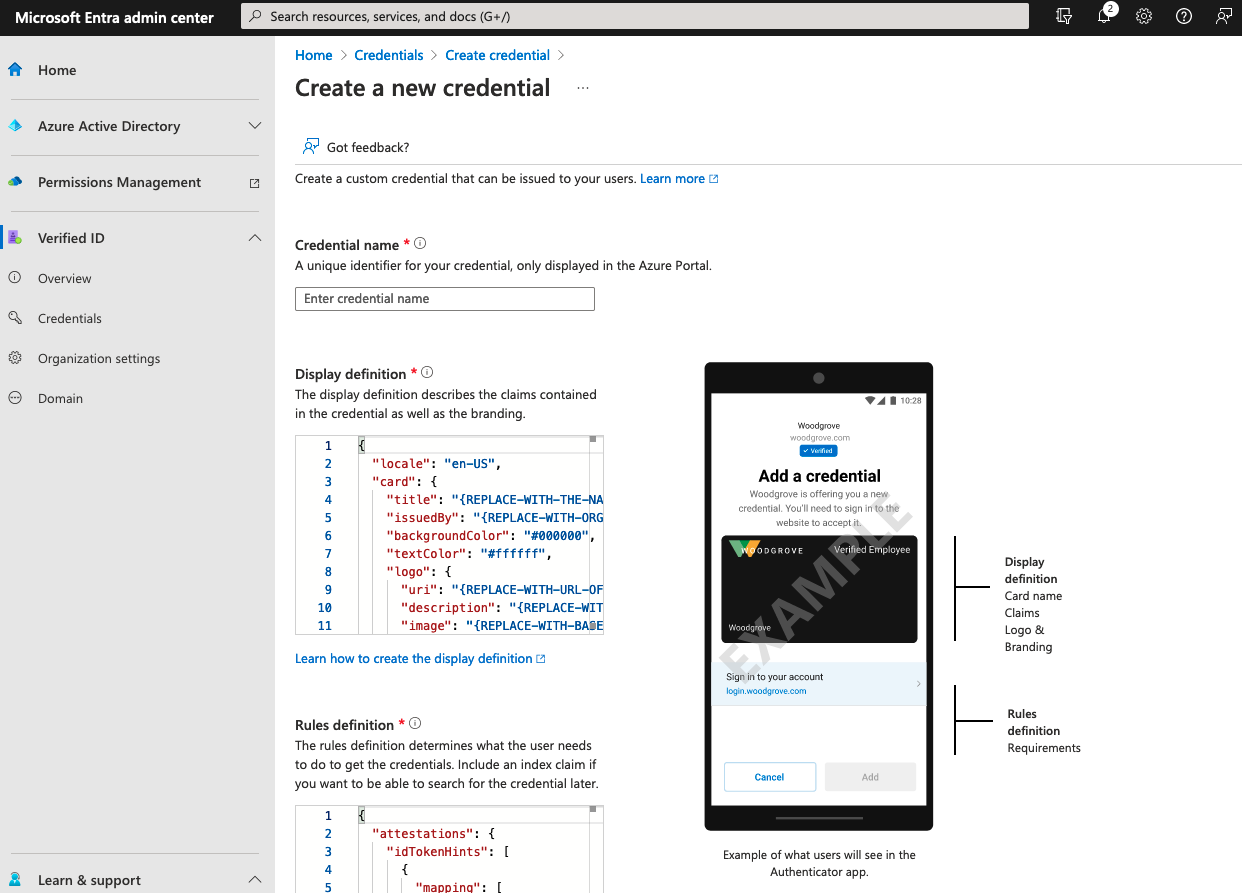
{
  "locale": "ja-JP",
  "card": {
    "title": "Verified Credential Sample Feb 2023",
    "issuedBy": "shmn7iii | Shimamura Hayato",
    "backgroundColor": "#000000",
    "textColor": "#ffffff",
    "logo": {
      "uri": "https://entra-vid-issuer.onrender.com/.well-known/icon.png",
      "description": "Verified Credential Sample Feb 2023 Logo"
    },
    "description": "DID勉強会用に作成したVCです。"
  },
  "consent": {
    "title": "Do you want to get your Verified Credential?",
    "instructions": "Sign in with your account to get your card."
  },
  "claims": [
		{
      "claim": "vc.credentialSubject.id",
      "label": "ID",
      "type": "String"
    },
    {
      "claim": "vc.credentialSubject.firstName",
      "label": "First Name",
      "type": "String"
    },
    {
      "claim": "vc.credentialSubject.lastName",
      "label": "Last Name",
      "type": "String"
    }
  ]
}
{
  "attestations": {
    "idTokenHints": [
      {
        "mapping": [
					{
            "outputClaim": "id",
            "required": true,
            "inputClaim": "$.id",
            "indexed": true
          },
          {
            "outputClaim": "firstName",
            "required": false,
            "inputClaim": "given_name",
            "indexed": false
          },
          {
            "outputClaim": "lastName",
            "required": false,
            "inputClaim": "family_name",
            "indexed": false
          }
        ],
        "required": false
      }
    ]
  },
  "validityInterval": 2592000,
  "vc": {
    "type": [
      "VerifiedCredentialSampleFeb2023"
    ]
  }
}
今回はドキュメントを参考にとりあえず以上のように設定。
ちなみに Credential のライフスパンは Rules definition の validityInterval で秒単位で指定できる。
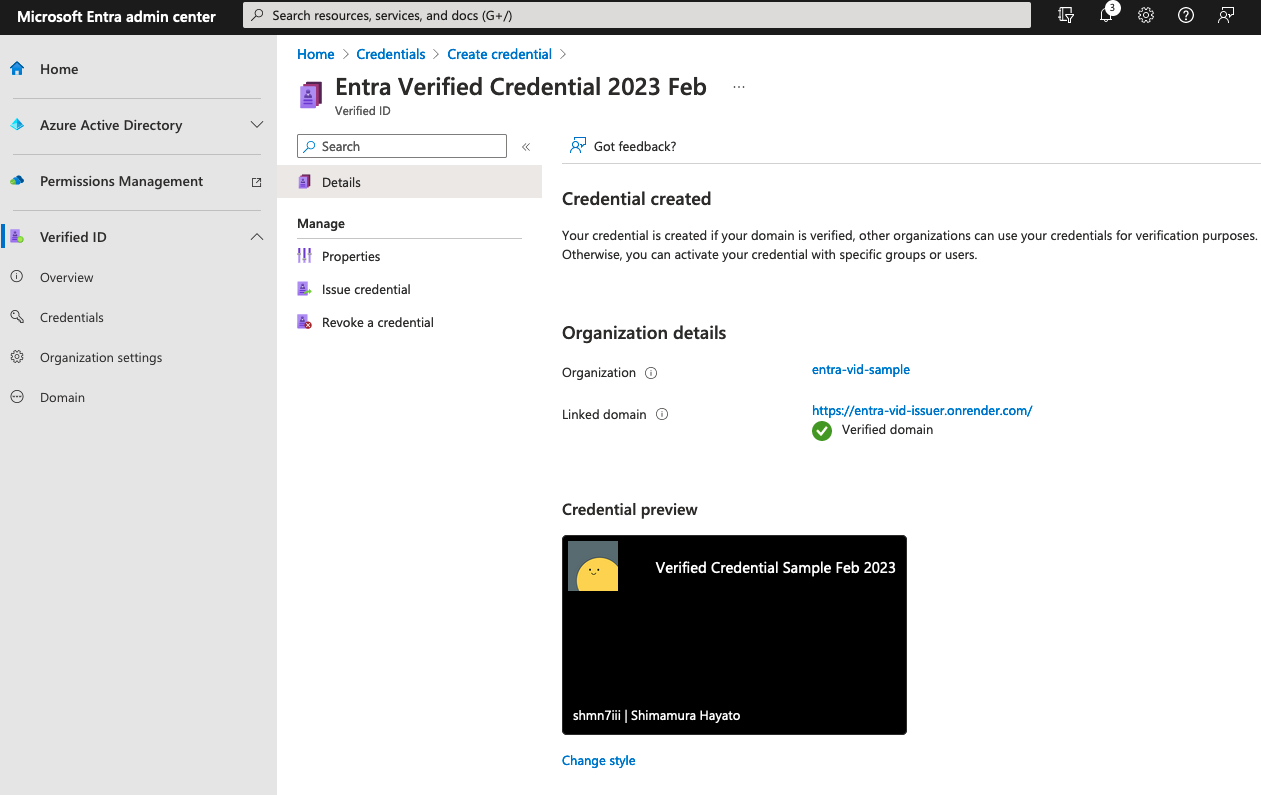
完成。
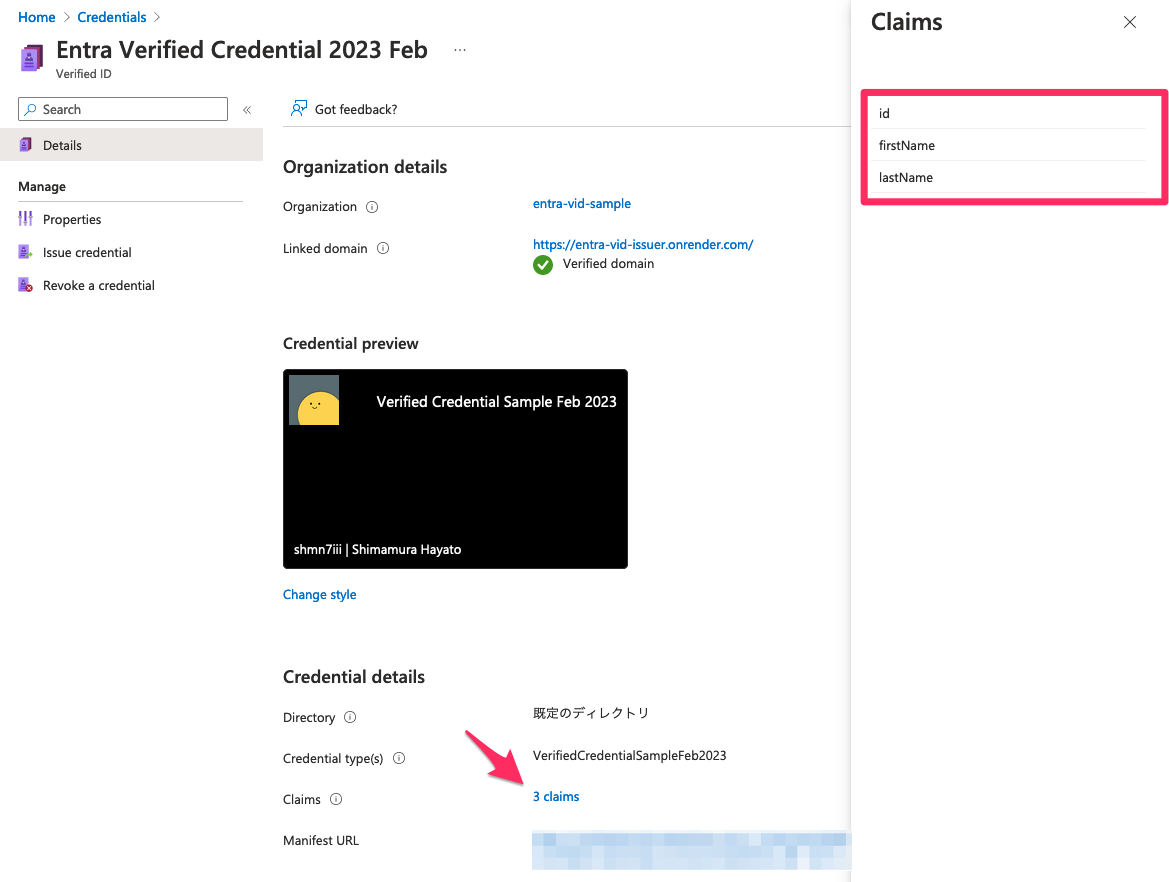
Claims も確認可能。
ここで Manifest URL をコピーしておく。
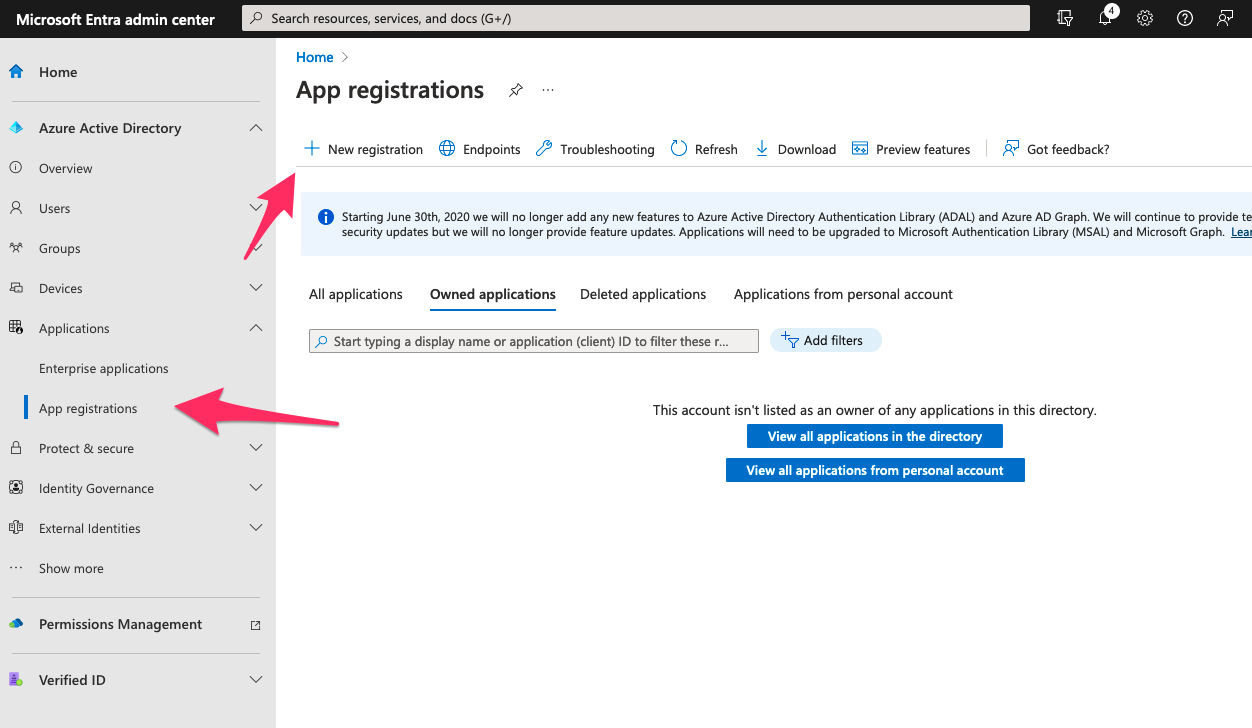
5. アプリ登録
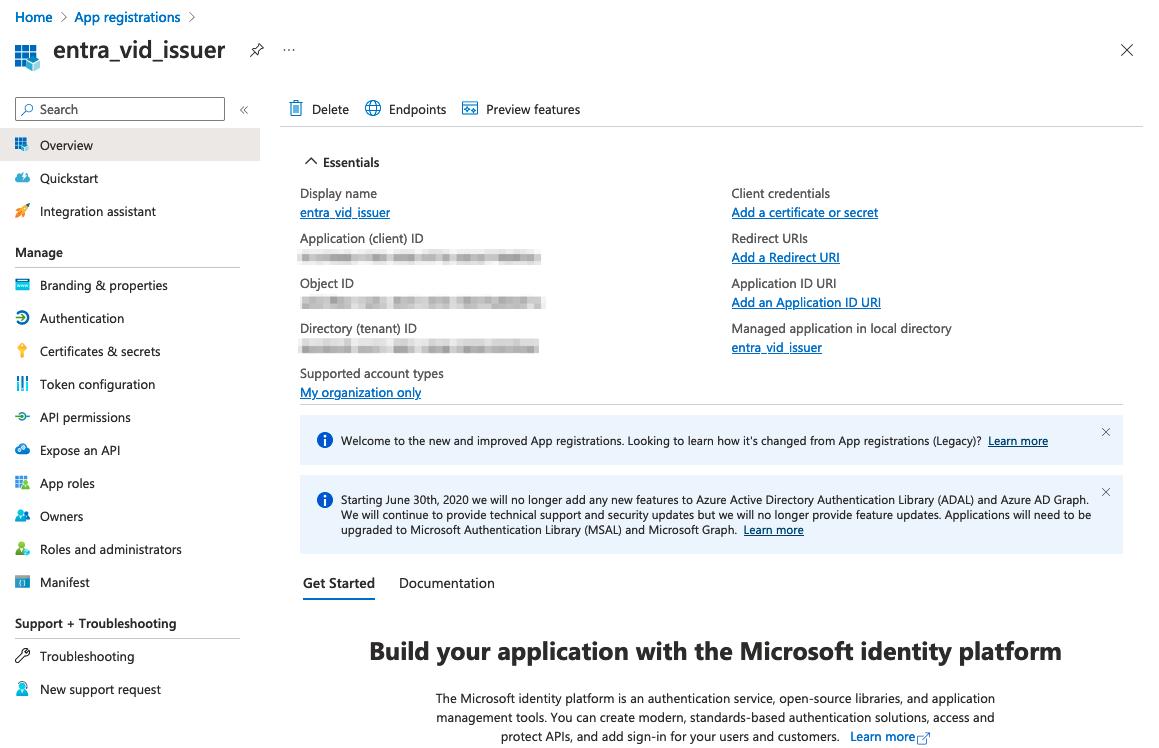
Issuer 用にアプリの登録を進める。
名称を入力し、その他はデフォルトのまま Register。

これで Client ID, Tenant ID が得られた。
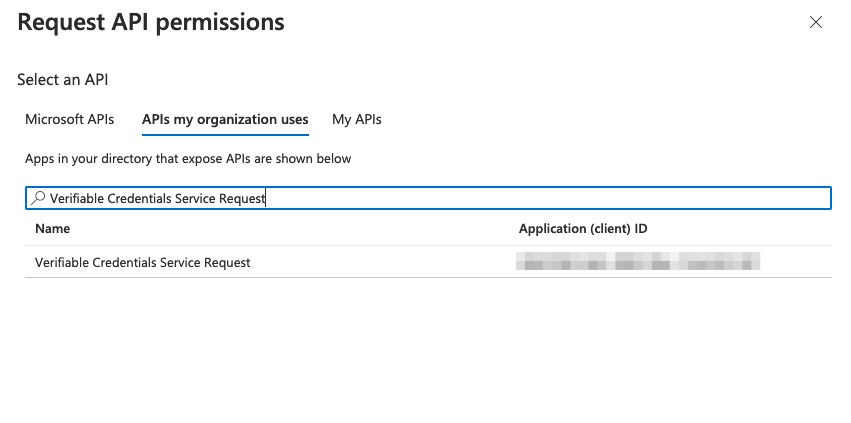
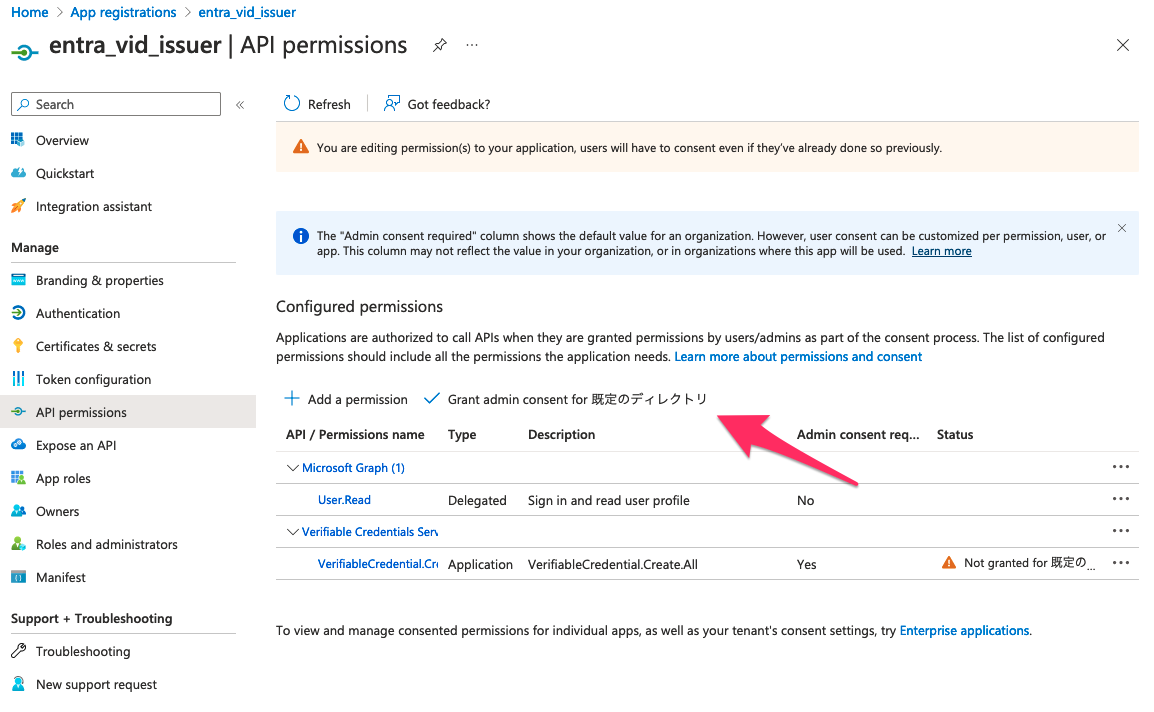
次にサイドバーの「API Permissions」へ。「Add a permission」

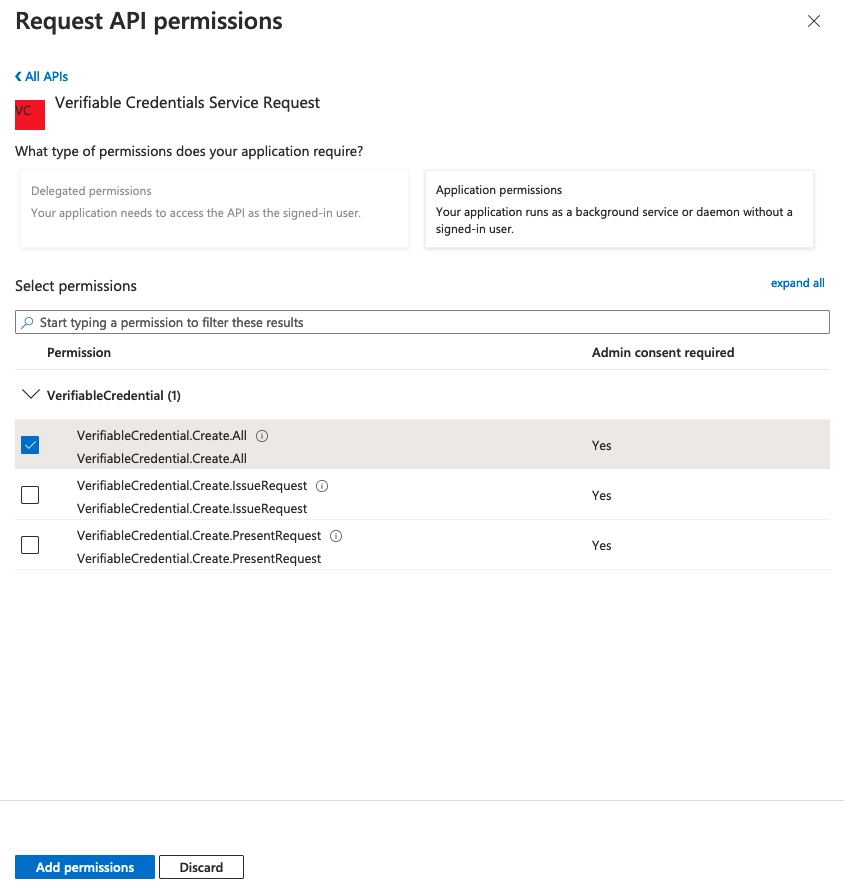
My Organization users から「Verifiable Credentials Service Request」を検索。
All にチェックし追加。
最後に「Grant consent for 規定のディレクトリ」を押下。
完了。

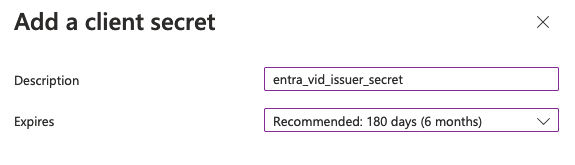
続いてクライアントシークレットを作成。
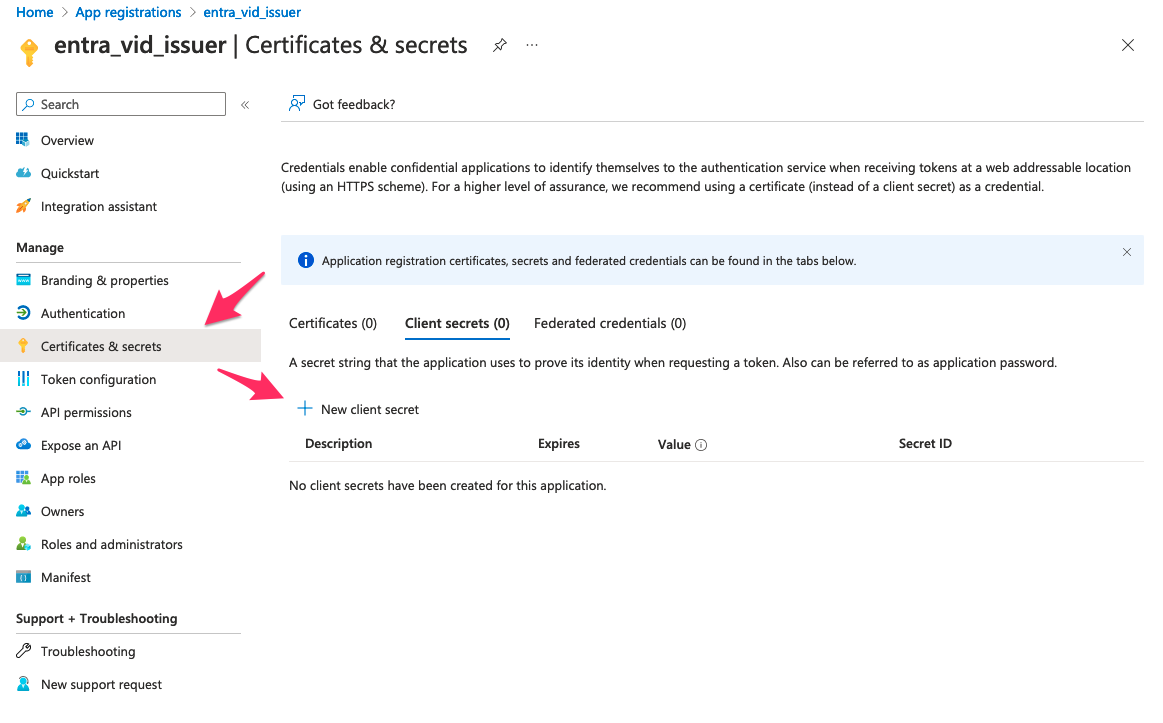
内容は任意。
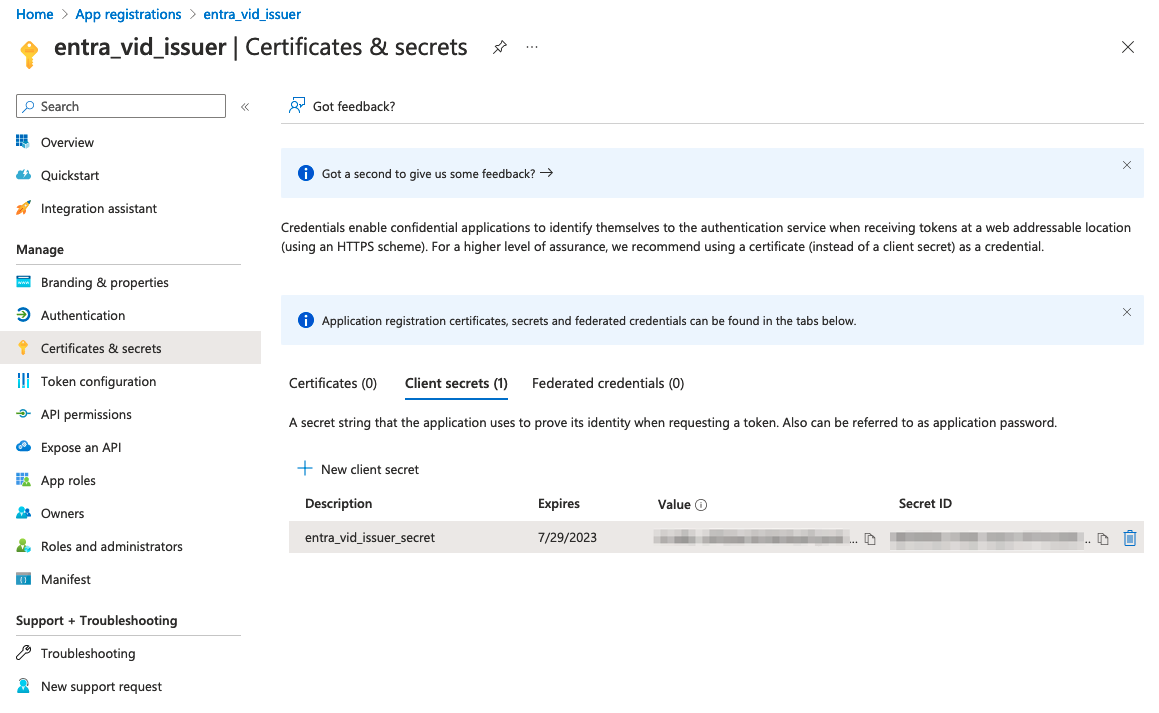
作成された内容を忘れずにメモする。
6. Issuer を設定
render の環境変数に集めた情報を書いていく。
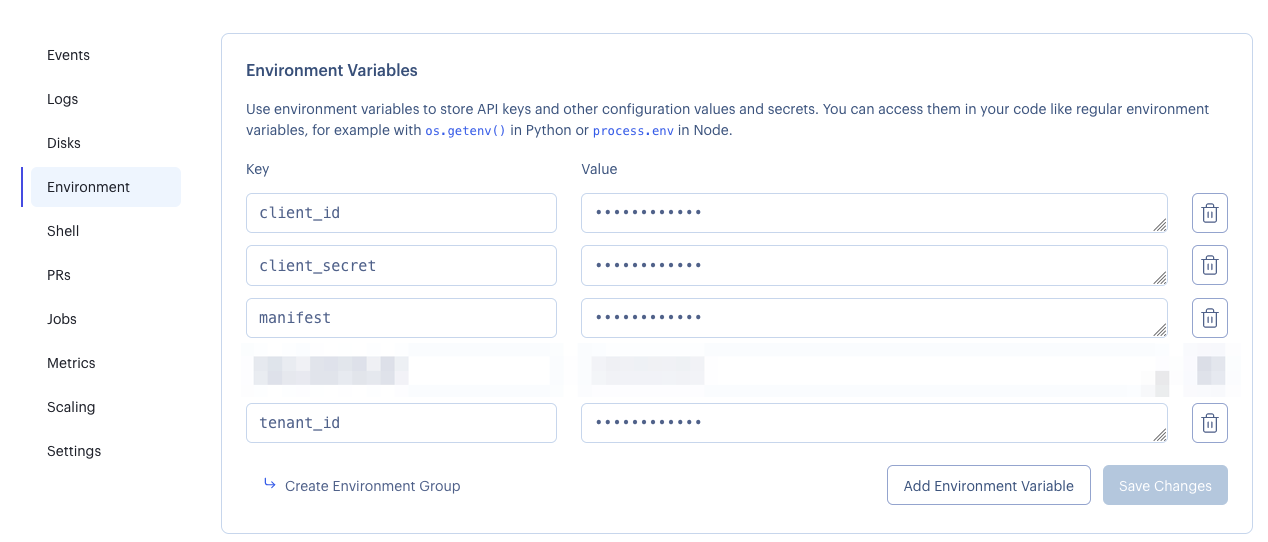
環境変数に変更があると自動で再デプロイされるのでしばし待つ。
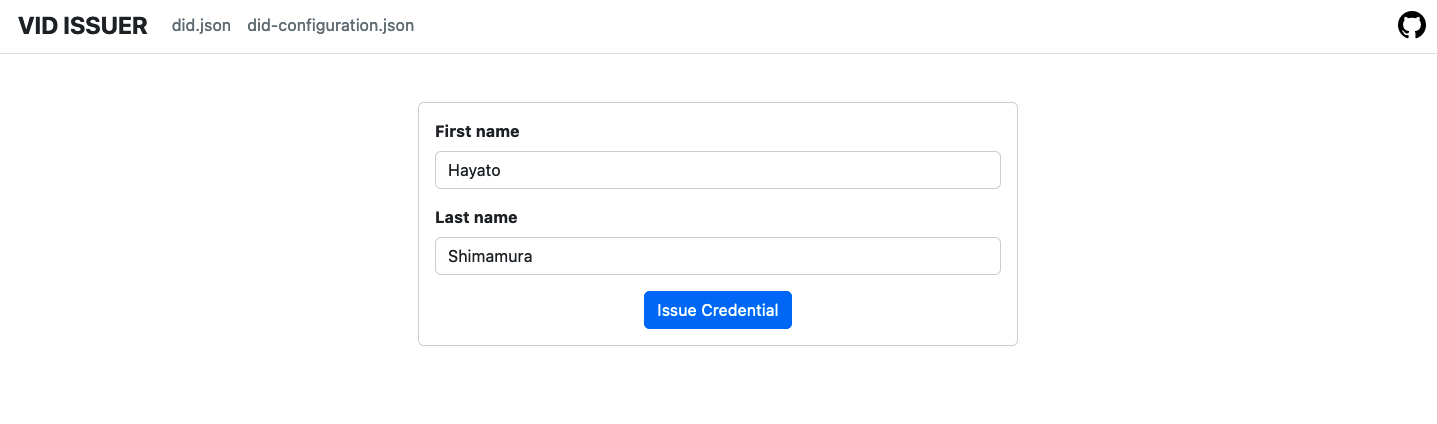
7. Issuer で Credential を発行
デプロイが完了したらアクセスしてみる。
render さん無料プランでも独自ドメインに CNAME 貼れた。やるやん…。
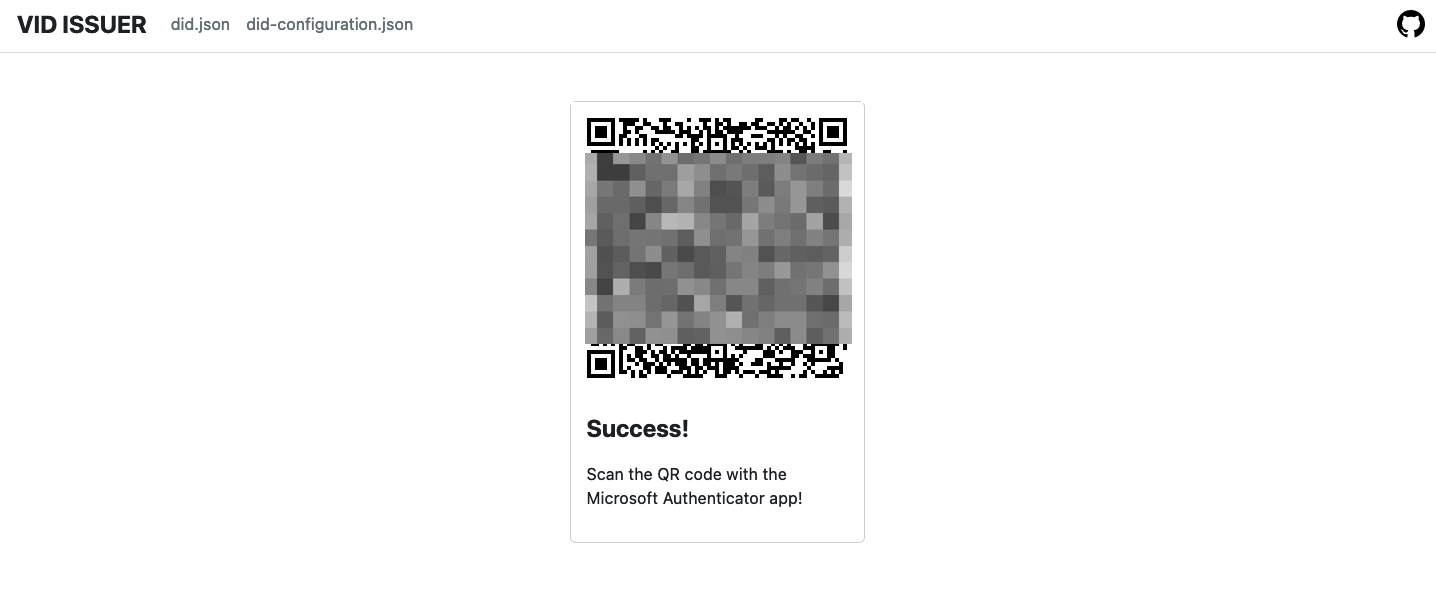
名前を入力して Issue Credential
QRコードが表示される
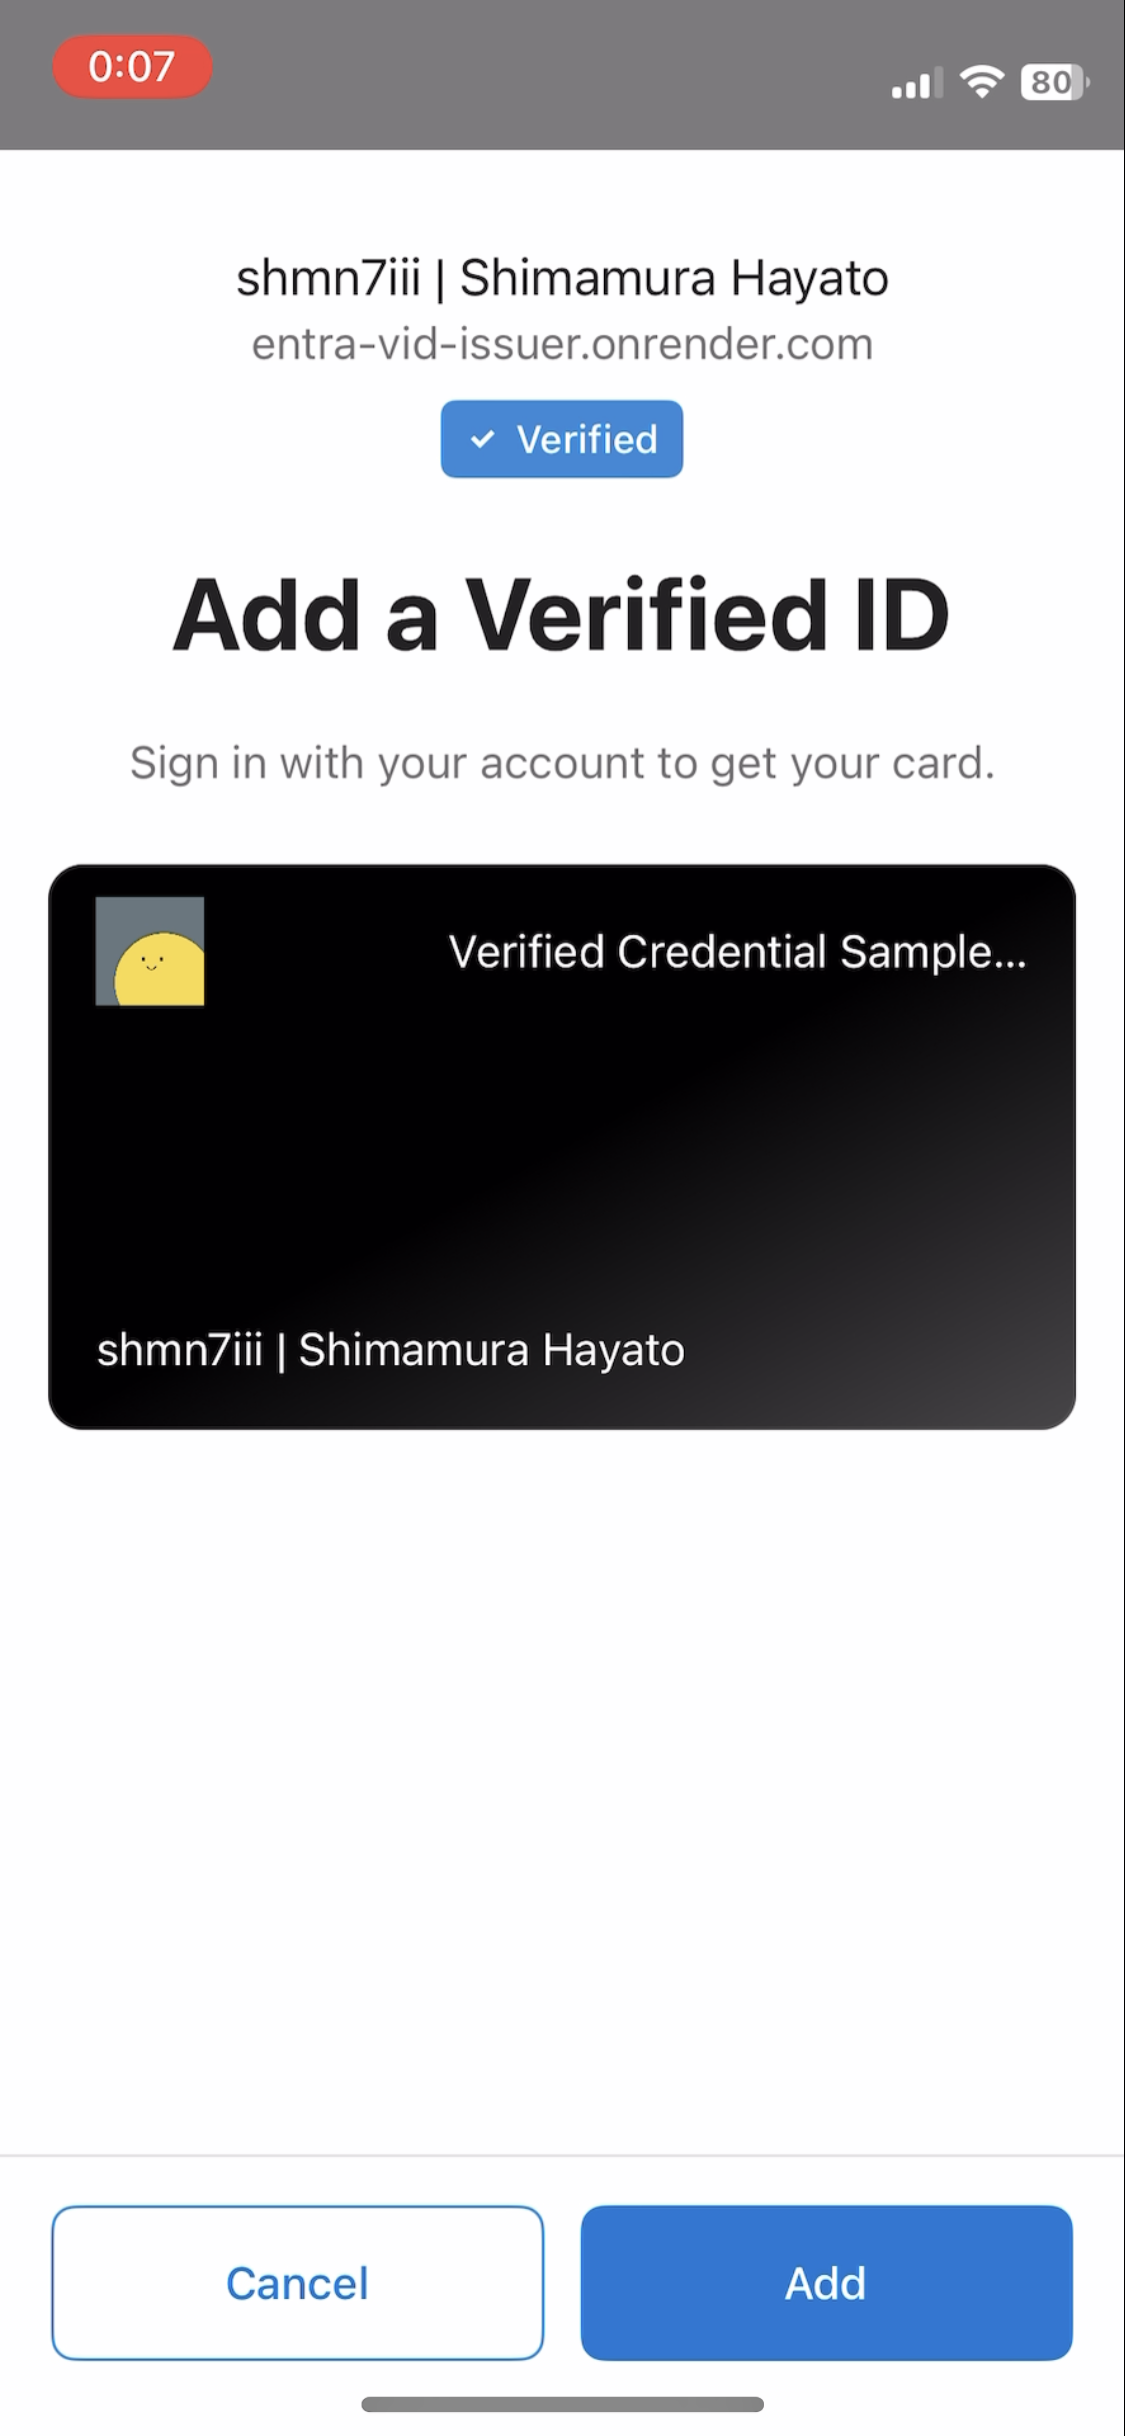
8. Microsoft Authenticator で読み込み
スマホからQRコードを読み込む。
1.スキャン

2.追加
3.リストに追加される

4.詳細を表示

完成 🎉